In the world of technology, speed is king. We live in an era where 4K video streaming is standard, video game install sizes are ballooning past 100GB, and creators are moving massive amounts of data every single day. Most homes today operate on a 1Gbps (Gigabit per second) local network. While that sounds fast, it can quickly become a bottleneck when multiple people are using the connection or when you are trying to move large files between devices.
Upgrading to a 10Gbps home network—often called 10GbE—is like expanding a two-lane suburban road into a ten-lane superhighway. It’s a massive leap in performance that changes how you interact with your digital world. But how do you actually get there? It isn’t as simple as just buying a new router. It requires a specific set of hardware and a bit of planning.
Why Make the Jump?
Before buying gear, it helps to understand the “why.” Most people don’t need 10Gbps for browsing social media or checking emails. However, if you fall into any of the following categories, the upgrade is a game-changer:
-
- Content Creators: If you edit 4K or 8K video, you likely store your footage on a Network Attached Storage (NAS) device. A 10Gbps connection allows you to edit those files directly over the network as if they were stored on your actual computer.
- Heavy Gamers: With games like Call of Duty or Ark taking up massive amounts of space, moving files between a console and a server or a backup drive becomes nearly instantaneous.
- Future-Proofing: As internet service providers (ISPs) begin offering speeds beyond 1Gbps, having a 10Gbps internal network ensures your home is ready for the next decade of internet advancements.
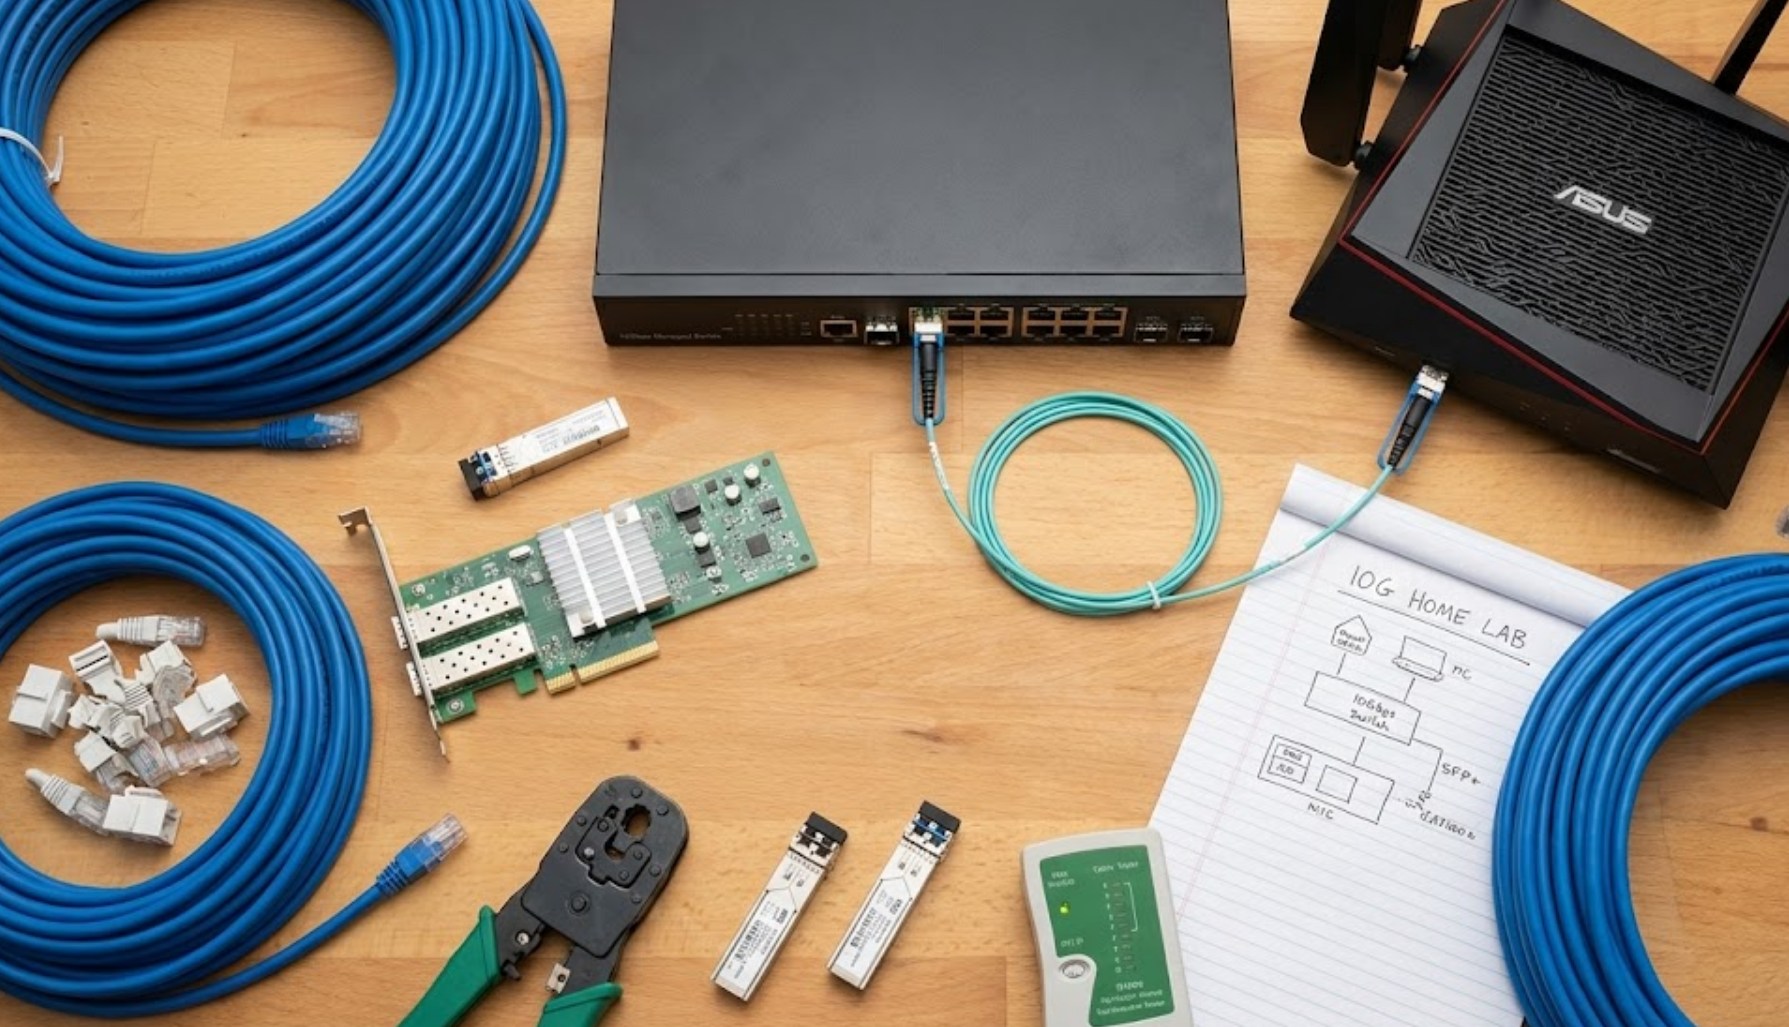
The Essential Hardware Checklist
To build this “superhighway,” every piece of the puzzle needs to support the higher speed. If even one part of your setup is slow, the whole network drops back down to the speed of that weakest link. Here is what you will need:
1. The Right Cabling
You cannot use the old, dusty Ethernet cables found in your junk drawer. You need cables capable of carrying the massive amount of data required for 10Gbps.
-
- Cat6: This can handle 10Gbps, but only over short distances (usually up to 30 or 55 meters).
- Cat6a: This is the gold standard for home 10GbE. It supports 10Gbps up to 100 meters and features better shielding against interference.
- Cat7 or Cat8: These are overkill for most homes but offer even more shielding and higher frequency support.
2. A 10GbE Network Switch
Your standard router likely only has 1Gbps ports. To connect multiple devices at high speeds, you need a 10Gbps switch. This acts as the central hub for your high-speed devices. You plug your router into the switch, and then plug your high-speed PCs and servers into the switch’s 10GbE ports.
3. Network Interface Cards (NICs)
Most motherboards and laptops come with a standard 1Gbps Ethernet port. To get 10Gbps, you need a dedicated Network Interface Card.
-
- For desktop PCs, you can buy a PCIe card that plugs directly into your motherboard.
- For laptops, you can use a Thunderbolt 3 or 4 to 10GbE adapter, though these can be a bit pricey.
- Ensure your device’s internal bus (the way data moves inside the computer) is fast enough to actually handle the speed.
4. High-Speed Storage
This is the part many people forget. There is no point in having a 10Gbps network if your hard drive can only write data at 1Gbps. To truly see the benefits, the devices sending and receiving the data should use Solid State Drives (SSDs), specifically NVMe drives, which can keep up with the blistering pace of the network.
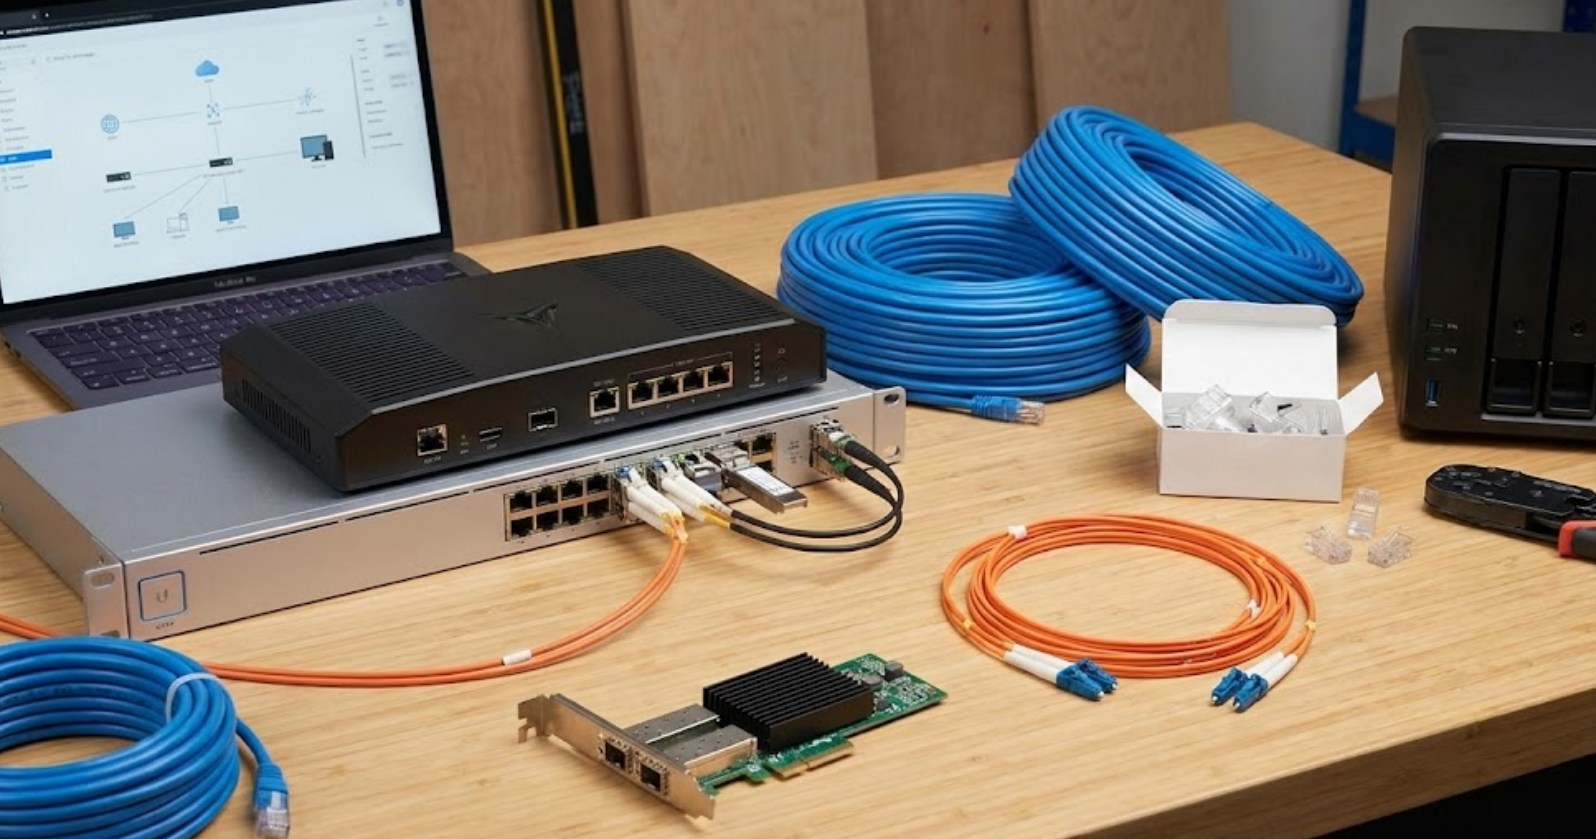
Setting It All Up: A Simple Workflow
Once you have gathered the hardware, the installation process is relatively straightforward, but it requires some physical labor.
First, you must map out your home. Identify which rooms need the high-speed connection. You probably don’t need 10Gbps in the kitchen for your smart fridge, but you definitely want it in your office or gaming den. Run your Cat6a cables through the walls or along the baseboards to these locations.
Next, connect your 10GbE switch to your existing router. Even if your internet is only 500Mbps, your internal network (PC to NAS, or PC to PC) will still run at 10Gbps. After that, install the NICs into your computers and install the necessary drivers.
Finally, give it a test run. Use a tool like “iPerf” to measure the speed between two devices. If you see numbers around 9.4Gbps (there is always a little overhead loss), you have successfully built a lightning-fast home network.
Potential Pitfalls to Avoid
The biggest mistake people make is buying “SFP+” gear without knowing what it is. SFP+ ports use fiber optic cables or “Direct Attach Copper” (DAC) cables instead of standard RJ45 Ethernet jacks. While SFP+ is often cheaper and uses less power, it is less common in consumer homes. Unless you are comfortable working with fiber, it is usually easier to stick with standard “10GBASE-T” (RJ45) hardware.
Another thing to watch out for is heat. 10Gbps hardware generates a lot of heat compared to standard gear. Make sure your switch is in a well-ventilated area, or you might experience “thermal throttling,” where the device slows itself down to avoid melting.
Is It Worth It?
Building a 10Gbps network is an investment in both time and money. However, as our digital lives become more data-heavy, the frustration of waiting for progress bars to finish will only grow. By setting up a 10Gbps network now, you are essentially removing the speed limits of your home, allowing your technology to work as fast as you do. Whether you’re a gamer, a creator, or just a tech enthusiast, the feeling of moving a massive file in the blink of an eye is well worth the effort.