If you have ever tried to fix a broken computer, install a new operating system like Linux, or simply wanted a way to recover files from a crashed Windows laptop, you probably know about “bootable USB drives.” Traditionally, creating one was a tedious chore. You had to download a specific tool, select one single ISO file (the digital image of the operating system), and wait for the software to “flash” it onto your thumb drive.
The worst part? If you wanted to switch from Windows 10 to Windows 11, or try out a version of Ubuntu, you had to format the entire drive and start all over again. It was a “one-at-a-time” system that wasted hours. But what if you could just drag and drop dozens of different operating systems onto a single USB stick and choose which one to run when you turn on your computer?
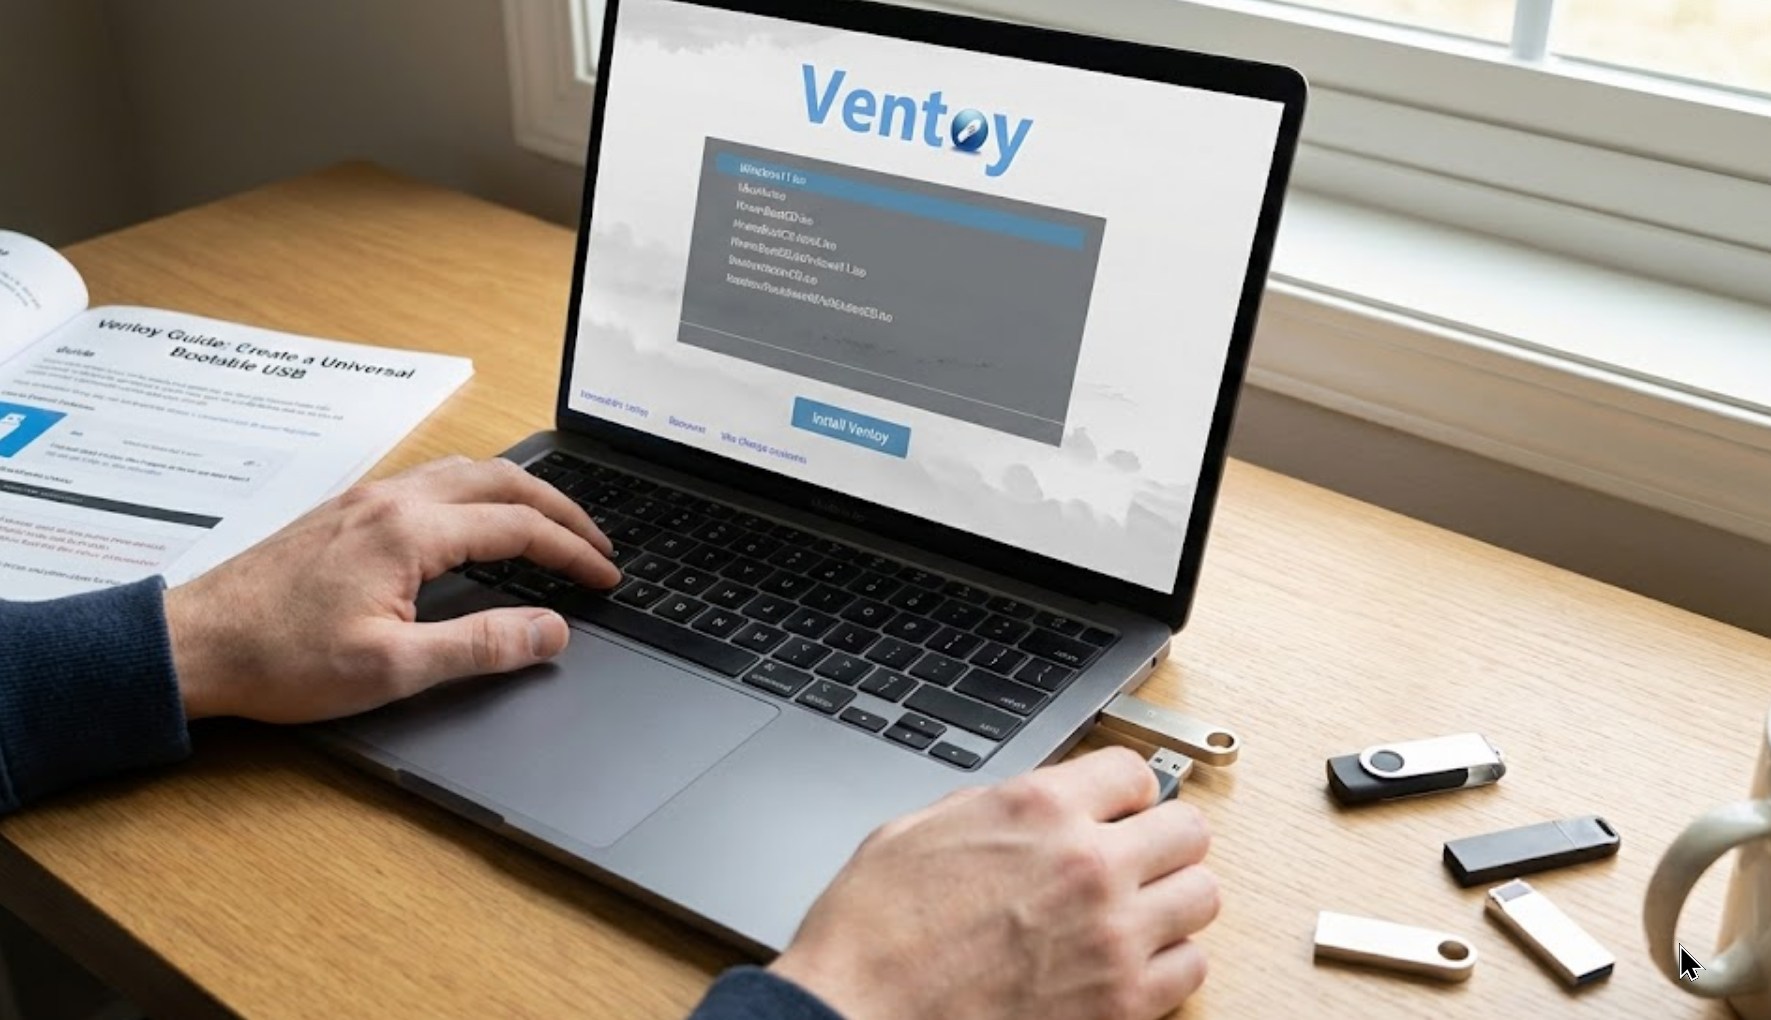
That is where Ventoy comes in.
What is Ventoy?
Ventoy is an open-source tool that changes the way we think about bootable media. Instead of turning your USB drive into a single-purpose tool, Ventoy turns it into a “smart” storage device. Once Ventoy is installed on your drive, you don’t need to format it ever again. You simply copy your ISO, WIM, IMG, or VHD files onto the drive like you are moving a movie or a music file. When you boot from that USB, Ventoy provides a clean menu that asks which file you want to start.
Why Should You Use It?
Before we dive into the “how-to,” let’s look at why this tool is a game-changer for anyone interested in tech:
-
- Multi-boot Capability: You can have Windows, Linux, and antivirus rescue disks all on one single 32GB or 64GB drive.
- Storage Efficiency: Since the files are just stored as regular data, you can still use the remaining space on your USB to store your homework, photos, or games.
- Fast Updates: If a new version of an OS comes out, you just delete the old ISO and paste the new one. No flashing required.
- Compatibility: It works with both old-school BIOS and modern UEFI systems, meaning it will likely work on almost any computer you find.
What You Will Need
Before starting, make sure you have the following items ready:
-
- A USB Flash Drive: Ideally 16GB or larger. Remember, installing Ventoy will wipe the drive the first time, so back up any important files.
- A Computer: You’ll need a Windows or Linux PC to set up the drive.
- ISO Files: These are the “disks” you want to put on your USB. You can download the Windows Installation Media or various Linux “distros” like Pop!_OS, Linux Mint, or Ubuntu for free.
Step-by-Step: Setting Up Your Universal USB
1. Download and Extract
First, head over to the official Ventoy website or their GitHub page. Download the latest version for Windows (usually a .zip file). Once it’s downloaded, right-click the folder and select “Extract All.”
2. The Installation Process
Inside the extracted folder, you will see a file named Ventoy2Disk.exe.
-
- Plug your USB drive into your computer.
- Double-click
Ventoy2Disk.exeto open the program. - Select your USB drive from the dropdown menu at the top. Double-check this! You don’t want to accidentally wipe your external hard drive or another device.
- Click the Install button.
- A warning will pop up twice, telling you that all data will be lost. Click “Yes” both times.
In a matter of seconds, the status bar will fill up, and a message will tell you that Ventoy has been successfully installed.
3. Adding Your Operating Systems
This is the part that feels like magic. When you open “This PC” or “File Explorer,” you will notice your USB drive is now named “Ventoy” and it looks completely empty.
-
- Find the ISO files you downloaded earlier.
- Copy them (Ctrl + C) and paste them (Ctrl + V) directly into the Ventoy drive.
- You can even create folders to organize them, such as “Windows Stuff” and “Linux Flavors.” Ventoy will scan the entire drive and find them automatically.
How to Use Your New Tool
Now that your drive is loaded with options, it’s time to test it.
-
- Keep the USB plugged in and restart your computer.
- As the computer starts, you need to tap a specific key to enter the “Boot Menu.” This is usually F12, F11, F10, or ESC, depending on your computer brand (Dell, HP, Lenovo, etc.).
- Select your USB drive from the list.
- The Ventoy menu will appear on a blue screen, listing every ISO you copied over. Use your arrow keys to pick one and hit Enter.
Pro-Tips for Success
To make the most of your universal USB, keep these tips in mind:
-
- File Names: Avoid using spaces or weird symbols in your ISO filenames. Some older computers get confused by them. Use underscores (e.g.,
Windows_11_Pro.iso) instead. - Secure Boot: Some modern laptops have a feature called “Secure Boot” that might block Ventoy. If the USB won’t start, you may need to go into your computer’s BIOS settings and temporarily disable Secure Boot.
- Stay Updated: You don’t need to reinstall Ventoy to update it. Just run the
Ventoy2Disk.exetool again with the same USB plugged in and click Update instead of Install. This refreshes the Ventoy software without deleting your ISO files!
- File Names: Avoid using spaces or weird symbols in your ISO filenames. Some older computers get confused by them. Use underscores (e.g.,
Conclusion
Creating a universal bootable USB is one of those “superpower” moves in the world of technology. Whether you are helping a friend recover their system or you’re experimenting with different versions of Linux to see which one you like best, Ventoy makes the process effortless. Instead of carrying around a pocket full of different USB sticks, you now have one master key that can handle almost any task. Happy booting!