So, you’ve finally upgraded to a shiny new laptop, and your old one is sitting on your desk gathering dust. Whether you’re planning to sell it on eBay, trade it in for credit, or give it to a younger sibling, there is one critical step you can’t afford to skip: wiping your data.
You might think that dragging your folders to the Recycle Bin and hitting “Empty” is enough. Unfortunately, it’s not. In the world of cybersecurity, “deleted” doesn’t always mean “gone.” If you want to protect your privacy, your bank logins, and those embarrassing middle-school photos, you need to perform a proper wipe of your Solid State Drive (SSD).
Why “Deleting” Isn’t Enough
To understand why you need a special process for an SSD, you have to understand how they work. Unlike the old-school Hard Disk Drives (HDDs) that used spinning magnetic plates, SSDs use flash memory. When you delete a file on a standard computer, the operating system simply marks that space as “available.” The actual data stays there until it’s eventually overwritten by new files.
Because of a process called “wear leveling,” SSDs move data around to make sure no single part of the drive wears out too fast. This makes traditional data-wiping software—the kind that just writes zeros over everything—less effective and potentially harmful to the lifespan of the drive. Instead, we use specific tools designed to tell the SSD to clear its cells all at once.
Step 1: The Great Backup
Before you go nuclear on your data, ensure you have everything you need. Once an SSD is securely wiped, the chances of recovering that data are near zero.
-
- Check your Downloads folder: We often forget about PDFs or resumes saved here.
- Backup your saves: If you’re a gamer, make sure your game saves are synced to the cloud (like Steam Cloud or Epic Games) or move them to an external drive.
- Use Cloud Storage: Move important school projects or photos to Google Drive, OneDrive, or iCloud.
- External Hardware: If you have a lot of large video files, a physical USB thumb drive or external hard drive is your best friend.
Step 2: Sign Out of Everything
This is a step many people forget. Your laptop is linked to several “ecosystems” that might limit the number of devices you can have active at once.
-
- Browser Sync: Sign out of Chrome, Firefox, or Edge so your saved passwords and history don’t stay cached.
- Apple ID / iCloud: If you’re on a MacBook, this is the most important step. If you don’t sign out of “Find My Mac,” the next owner might be locked out of the computer entirely—a problem known as “Activation Lock.”
- Microsoft Account: De-register the device from your Microsoft account online.
- Music and Software: De-authorize your computer in apps like iTunes (if you still use it) or specialized creative software like Adobe Creative Cloud.
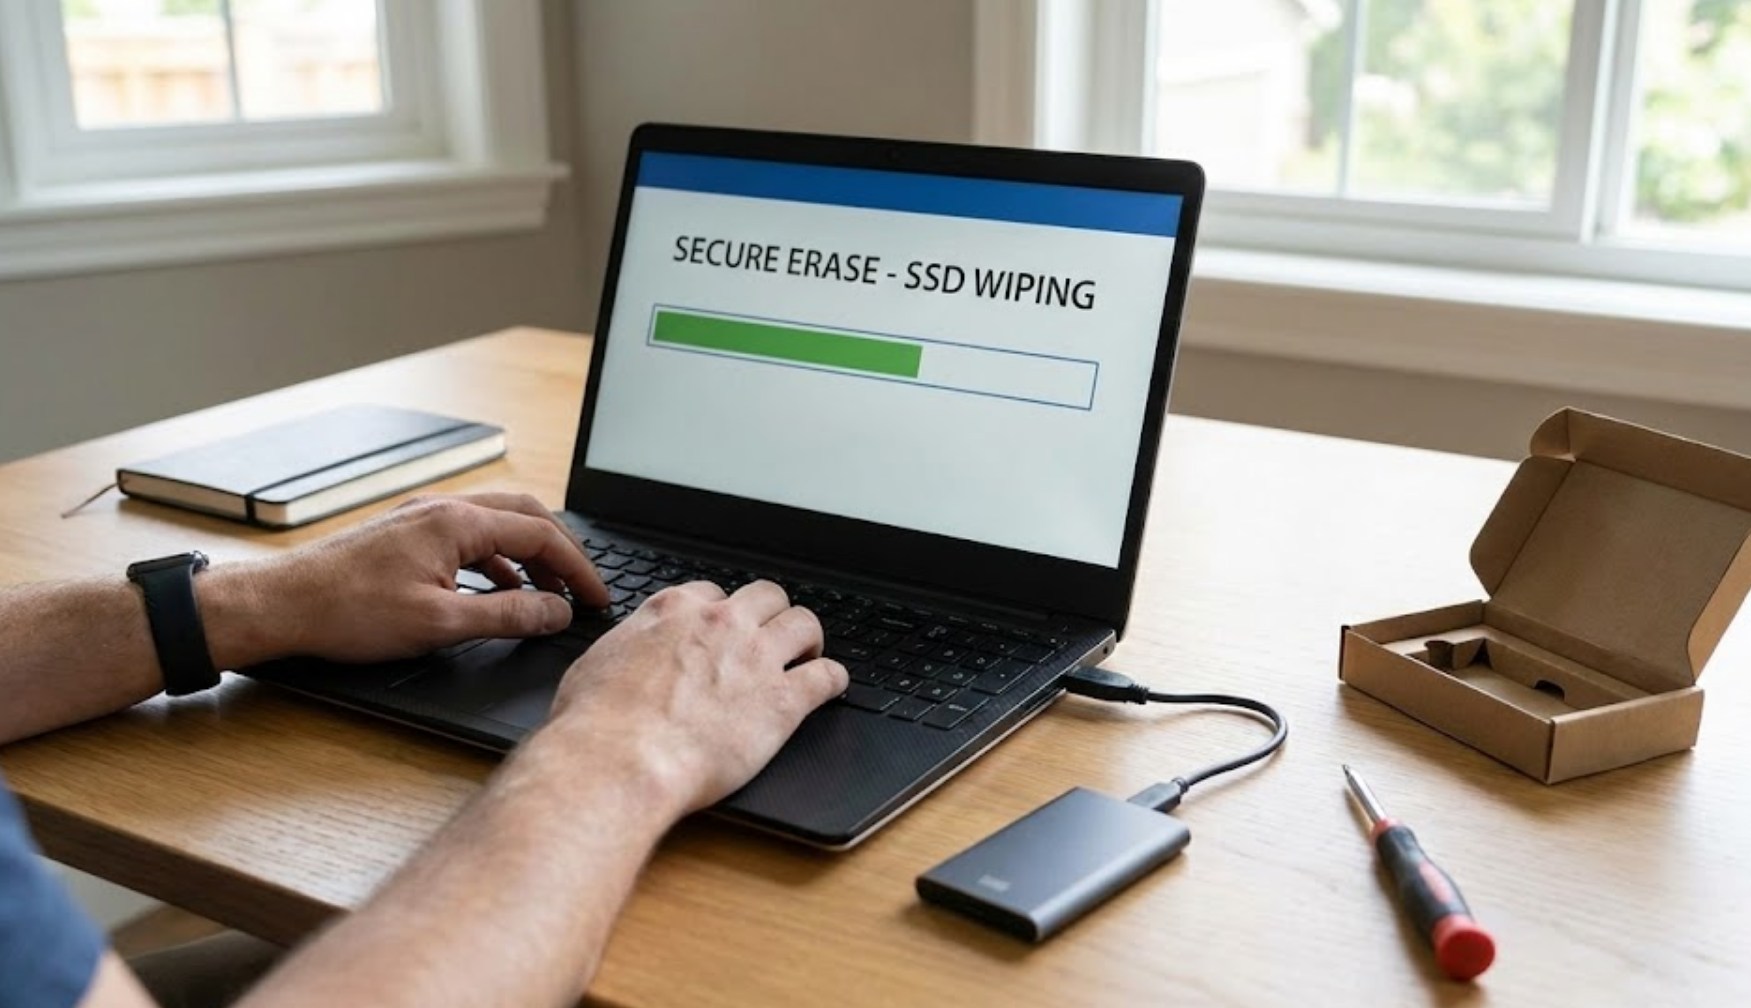
Step 3: The Wiping Process
The method you use depends on whether you are using a Windows PC or a Mac. Thankfully, modern operating systems have made this much easier than it used to be.
For Windows Users
Windows 10 and 11 have a built-in tool that handles SSDs correctly. You don’t need to download sketchy third-party “shredding” apps.
-
- Go to Settings > System > Recovery.
- Look for Reset this PC and click the button.
- Choose Remove everything. This ensures your personal files, apps, and settings are all scrubbed.
- Crucial Step: Click on “Change settings” and toggle the Clean data option to “On.” This takes longer, but it performs a much more thorough wipe of the drive, making it nearly impossible for data recovery tools to find anything.
For Mac Users
If you have a newer Mac (with Apple Silicon or the T2 Security Chip), the process is incredibly fast thanks to encryption.
-
- Click the Apple menu and go to System Settings.
- Select General and then Transfer or Reset.
- Click Erase All Content and Settings.
- The system will ask for your admin password and then walk you through the process of signing out of iCloud. Once you confirm, the Mac will essentially “throw away the key” to your encrypted data, rendering it unreadable instantly.
Why You Shouldn’t Use “Physical Destruction”
You might see videos online of people drilling holes through their drives or smashing them with hammers. While this is certainly effective, it’s not a great idea if you’re trying to sell the laptop. It’s also terrible for the environment. SSDs contain heavy metals and chemicals that should be recycled, not tossed in the trash. A software-based “Secure Erase” is more than enough for 99% of people.
Final Thoughts
Taking an extra thirty minutes to properly wipe your laptop ensures that your “digital ghost” doesn’t haunt the next owner. Once the process is finished, the laptop will boot up to a “Welcome” or “Set Up” screen, just like it did the day you first unboxed it. Now, you’re ready to hand over the keys, collect your cash, and enjoy your new upgrade with total peace of mind.