When you look at your Mac, you probably see a sleek screen, colorful icons, and a smooth glass trackpad. But underneath that polished surface lies a powerful engine that most people never touch. This engine is accessible through a pre-installed app called Terminal.
To the uninitiated, the Terminal looks like something out of a 1990s hacker movie—a black window with flickering white text. While it might seem intimidating, it is actually one of the most efficient ways to control your computer. Mastering a few simple commands can save you time, give you access to hidden features, and help you understand how your machine actually thinks.
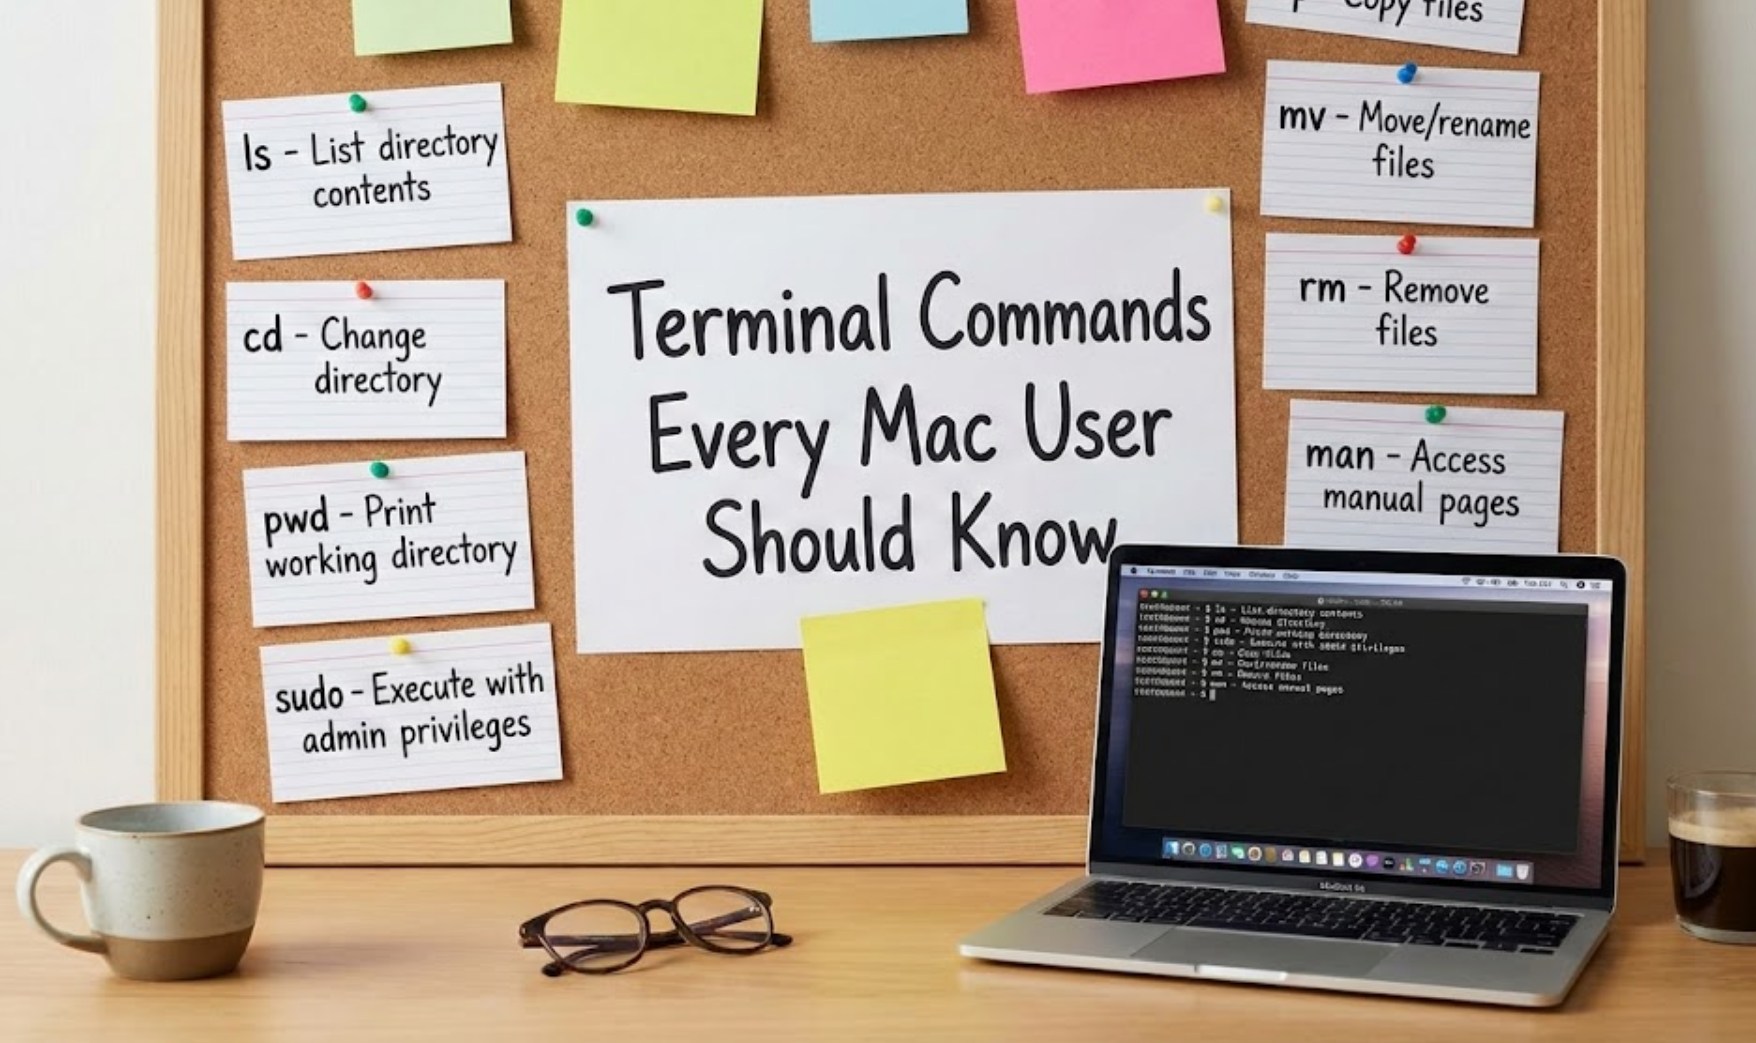
To get started, simply press Command + Space, type “Terminal,” and hit Enter. Here are eight essential commands that will turn you from a casual user into a power user.
1. The “Say” Command
If you want to break the ice with the Terminal, the say command is the perfect place to start. This command literally makes your Mac talk. It uses the built-in text-to-speech engine to read out whatever you type.
-
- How to use it: Type
say Hello worldand hit Enter. - Why it’s useful: Beyond being a fun prank to play on friends, it’s great for proofreading an essay. If you paste a paragraph after the command, hearing your Mac read it back to you is one of the fastest ways to catch awkward phrasing or typos.
- How to use it: Type
2. Caffeinate
Have you ever been downloading a huge file or rendering a video, only for your Mac to go to sleep and ruin the progress? The caffeinate command solves this without you having to dig through System Settings to change your power saver options.
-
- How to use it: Type
caffeinateand hit Enter. As long as the Terminal window stays open, your Mac will not go to sleep. - Pro tip: If you want it to stay awake for a specific amount of time, type
caffeinate -u -t 3600(this keeps it awake for 3,600 seconds, or one hour),
- How to use it: Type
3. ls (List)
When you open a folder in the Finder, you see icons. In the Terminal, you use ls to see what is inside your current location. It stands for “list.”
-
- Type
lsand press Enter to see all the files and folders in your current directory. - Type
ls -ato see “hidden” files that the Mac usually keeps out of sight, such as system configuration files.
- Type
4. cd (Change Directory)
If ls lets you see what’s in a folder, cd lets you actually walk into that folder. Think of it like double-clicking a folder icon.
-
- How to use it: Type
cd Downloadsto move into your Downloads folder. - The Shortcut: If you want to go back to the main folder you started in, just type
cd ~. The tilde symbol (~) is the Terminal’s shorthand for your home directory.
- How to use it: Type
5. mkdir (Make Directory)
Instead of right-clicking and selecting “New Folder,” you can do it instantly with mkdir.
-
- How to use it: Type
mkdir MyNewProject. - The Power Move: You can create multiple folders at once by typing
mkdir Folder1 Folder2 Folder3. This is a massive time-saver when you are setting up a new semester of classes or a new hobby project.
- How to use it: Type
6. screencapture
While Command + Shift + 4 is the standard way to take a screenshot, the screencapture command gives you way more control. This is a favorite for people who want to automate their workflow.
-
- How to use it: Type
screencapture -t jpg photo.jpg. This takes a screenshot and saves it specifically as a JPG file rather than the default PNG. - The Timer: You can even add a delay by typing
screencapture -T 10 image.png, which gives you 10 seconds to get your screen perfectly organized before the “shutter” clicks.
- How to use it: Type
7. top
Ever feel like your Mac is running slowly, but you aren’t sure why? The top command shows you exactly what is happening under the hood in real-time. It lists every active process, how much memory they are using, and how much of your CPU (the brain of the computer) they are hogging.
-
- How to use it: Type
top. - How to exit: Unlike other commands, this one keeps running. To stop it and go back to the normal prompt, press
Q.
- How to use it: Type
8. history
After playing around in the Terminal for a while, you might forget that really cool command you used yesterday. The history command acts like a memory bank for your keyboard.
-
- How to use it: Type
history. - The Result: You will see a numbered list of every command you have recently typed. If you see a command you want to run again, look at its number (for example, #50) and type
!50. The Terminal will automatically re-run that specific command.
- How to use it: Type
A Final Word of Advice
The Terminal is a conversation with your computer’s core. While these eight commands are safe and helpful, remember that the Terminal doesn’t usually ask “Are you sure?” before it executes a command. Always double-check your spelling, especially if you start exploring more advanced commands.
By learning these basics, you aren’t just using a computer anymore—you are starting to understand how it functions. It’s a bit like learning to drive a manual transmission car; it takes a little more effort, but it gives you total control over the journey. Happy typing!