Imagine you are in the middle of an intense online match, or perhaps you are finally finishing that research paper that is due at midnight. Suddenly, the little globe icon appears in the corner of your taskbar. Your connection is gone. You wait a few seconds, it comes back, and then two minutes later, it drops again. This “cycling” of Wi-Fi is one of the most frustrating experiences you can have on a modern PC.
While Windows 11—and the upcoming iterations like Windows 12—bring a lot of visual polish and speed, they aren’t immune to the “ghost in the machine” that causes internet instability. If your laptop or desktop keeps losing its grip on the Wi-Fi signal, you don’t need to be a professional IT specialist to fix it. Most of the time, the issue is caused by a simple software glitch or a setting that is trying to be “too smart” for its own good.
Here is a guide to getting your connection stable again.
1. The “Power Saver” Trap
One of the most common reasons Wi-Fi drops on Windows is actually a feature, not a bug. Windows tries to save battery life by turning off hardware that it thinks isn’t being used. Sometimes, it decides your Wi-Fi card is a good candidate for a nap, even while you’re using it.
To stop this from happening, follow these steps:
-
- Right-click the Start button and select Device Manager.
- Find the section labeled Network adapters and click the small arrow to expand it.
- Look for your Wi-Fi controller (it usually has the name “Intel,” “Realtek,” or “Killer” in it).
- Right-click it and select Properties.
- Look for a tab called Power Management. If you don’t see it, don’t worry; some modern drivers have removed this, but if it’s there, uncheck the box that says “Allow the computer to turn off this device to save power.”
- Click OK and restart your computer.
2. Flush the Digital Pipes
Think of your internet connection like a plumbing system. Over time, little bits of digital “gunk” (cached data and old IP configurations) can clog the system. When this happens, your computer might struggle to talk to the router. You can clear this out using the Command Prompt, which feels a bit like “hacking” but is perfectly safe.
Type cmd in your search bar, right-click it, and select Run as Administrator. Once the black box appears, type these commands one by one, pressing Enter after each:
-
ipconfig /release
-
ipconfig /renew
-
ipconfig /flushdns
-
netsh winsock reset
After the last command, your computer will tell you that a restart is required. Go ahead and reboot. This often fixes issues where the Wi-Fi stays connected but says “No Internet.”
3. Update (or Roll Back) Your Drivers
Drivers are essentially the translators that allow the Windows operating system to talk to your Wi-Fi hardware. If the translator is using an old dictionary, things get lost in translation.
-
- To Update: Go back to the Device Manager, right-click your Wi-Fi adapter, and select Update driver. Choose “Search automatically for drivers.”
- The “Roll Back” Trick: Sometimes, a brand-new update is actually the cause of the problem because it has a bug. If your internet started acting up right after a Windows update, go to the same Properties menu we used in the Power Management step, click the Driver tab, and select Roll Back Driver. This will return you to the previous version that worked.
4. Switch to a Private Network Profile
Windows treats “Public” and “Private” networks differently. On a Public profile, Windows uses stricter firewall rules that can sometimes interfere with a steady connection. If you are at home, make sure your connection is set to Private.
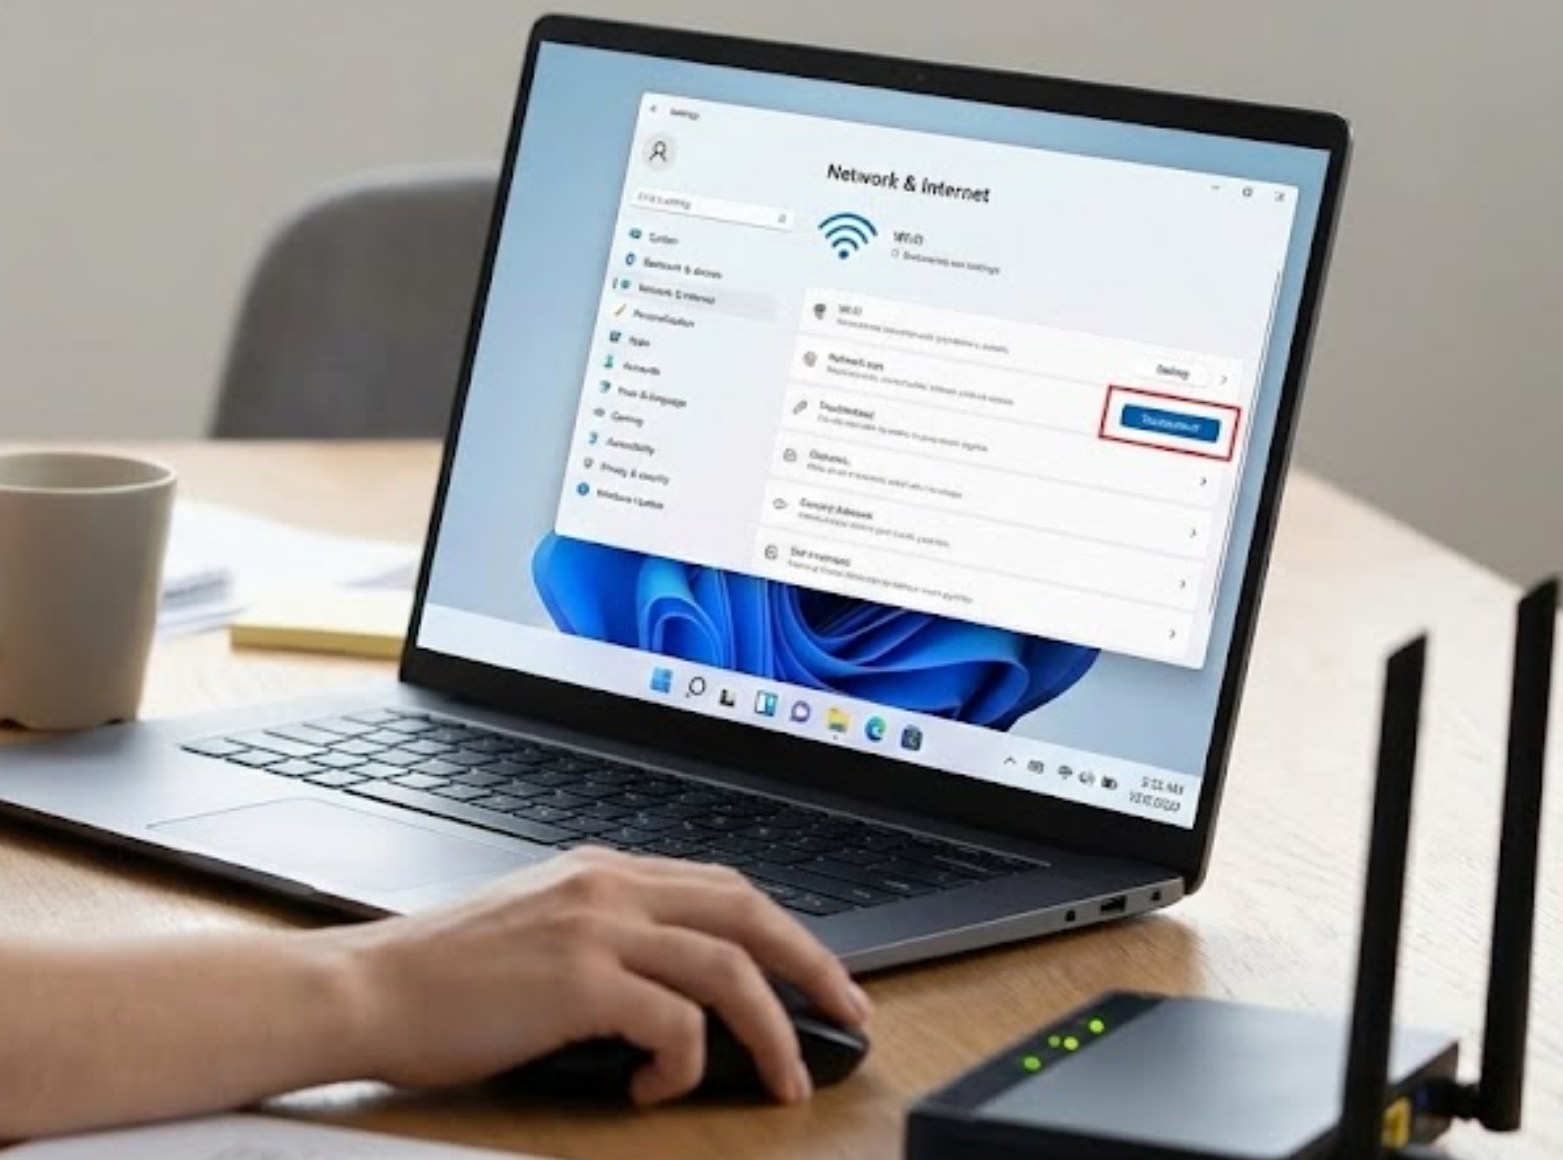
You can check this by going to Settings > Network & internet > Wi-Fi, clicking on your specific network properties, and ensuring the “Network profile type” is set to Private.
5. The “Nuclear Option”: Network Reset
If you’ve tried everything and the Wi-Fi still drops every ten minutes, it’s time for a fresh start. Windows has a feature called “Network Reset” that removes every bit of networking software and reinstalls it from scratch.
Keep in mind that doing this will make your computer “forget” all your Wi-Fi passwords, so make sure you have your home password written down before you start.
-
- Open Settings.
- Go to Network & internet.
- Scroll down to Advanced network settings.
- Click on Network reset.
- Click Reset now.
Your computer will automatically restart after five minutes. When it comes back on, it will be like the very first day you took it out of the box—at least as far as the internet is concerned.
Final Thoughts
Persistent Wi-Fi drops are usually a sign of a communication breakdown between your software and your hardware. By working through these steps—starting with the easiest and moving toward the more “extreme” resets—you can usually find the culprit. If none of these work, the problem might actually be your router or the distance between your desk and the signal source. But in nine out of ten cases, a little bit of Windows “spring cleaning” is all you need to get back to your games, your videos, and your schoolwork.